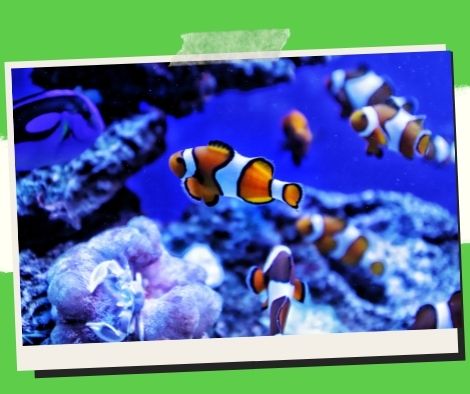
Setting Up Your Personalized Saltwater Aquarium
There are few things in life as beautiful as a completely furnished, custom saltwater aquarium and the aquatic inhabitants that call it home. Many people find the process of buying an aquarium to be simple; after all, there are many options for decorating such a thing, and they appear to be practically unlimited. However, the process of maximizing functionality and making the aquarium livable for its new inhabitants is a little more difficult.
After purchasing a new aquarium, the first task is to clean the tank and all of its auxiliary components using freshwater, no soap, and a delicate cloth. This will get rid of any chemicals and dust that may have built up on it while it was in the production and keep them from hurting the fish. Once all of the components have been thoroughly cleaned, the tank should be placed on a level pedestal that has been positioned enough away from the wall for the electrical wires to reach an outlet plug with little chance of a little amount of sloshing from the tank igniting an electrical fire. To prevent saltwater aquarium condensation from harming the surface of the stand behind the tank, a soft cloth should be positioned there.
Once the aquarium has been placed correctly, saltwater needs to be added to it. You can either buy a saltwater solution that has already been produced or make your own. Once the tank is full, you should let the entire system run for 24 to 48 hours on a test cycle to make sure everything is functioning properly. Use this chance to check the water’s temperature, salinity, and pH to make sure the conditions are ideal for the species of saltwater fish that will live in your aquarium (it is best to research this ahead of time-not all saltwater fish thrive in the same conditions).
You can now complete your landscaping. Remove roughly half of the water, then use your preferred landscaping tools to beautify your aquarium (rocks, plants, etc.). To make landscaping easier and to avoid spills, it is crucial to first drain the water. Replace the water up to the fill line after you’re done (if the tank does not come with a fill line you can use a permanent marker to make your own on the side facing the wall).
It is crucial that the tank undergo a 30-day first cycling period, either with or without live fish, during which you should keep a constant eye on the water’s ammonia levels. Avoid using an ammonia reducer during this time because doing so will just restart the process. After completing all of these processes, your new, personalized saltwater aquarium is ready for you to add fish, sit back, and enjoy it!
Save/Share this story with QR CODE
Disclaimer
This article is for informational purposes only and does not constitute endorsement of any specific technologies or methodologies and financial advice or endorsement of any specific products or services.
 Need to get in touch?

We appreciate your reading. 
1.) 

Your DONATION will be used to fund and maintain NEXTGENDAY.com
Subscribers in the Philippines can make donations to mobile number 0917 906 3081, thru GCash.
3.) 
4.) 
AFFILIATE PARTNERS

World Class Nutritional Supplements - Buy Highest Quality Products, Purest Most Healthy Ingredients, Direct to your Door! Up to 90% OFF.
Join LiveGood Today - A company created to satisfy the world's most demanding leaders and entrepreneurs, with the best compensation plan today.

 Business, Finance & Technology


